 GuestGuest
 Belle's Equipment
 Mon Nov 04, 2019 6:15 pm
Belle's Equipment
Character Name: Belle
Number of Equipment Pieces: 2
Highest tiered equipment: T1
Total Equipment Stat Points: 10
Equipment Name: Alpha
Equipment Type: Bow
Equipment Tier: Tier 1
Equipment Stats: +5 Attack
Equipment Description: As a Bow it's used with arrows to attack from a distance.
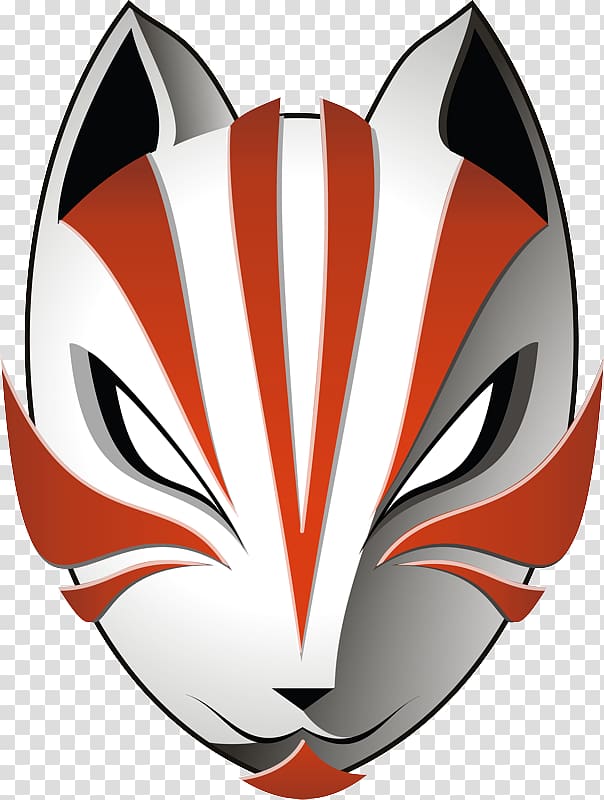
Equipment Name: Fox Mask
Equipment Type: Face Mask
Equipment Tier: 1T
Equipment Stats: +5 Defense
Equipment Description:
- Spoiler:

The mask is made to hide one's face and protect against attacks that could otherwise harm the face. It's beautifully crafted and was made just for Belle. She can see out of it due to a clear material over the eyes part.
Techniques
- Equipment Techniques:
Name of the technique
Technique By: Name of the equipment that gives you this technique.
Technique Class: See the Shop of Dreams to know whether your technique should be an LT, MT or HT.
Technique Type: Flat/DoT/Stat Morph/(Flat or DoT) Hybrid/Heal
Technique Range: The base maximum ranges of equipment techniques based on the tier acquired is as follows: T2: 200m, T3: 400m, T4: 600m, T5: 800m, T6: 1000m
Technique Cooldown: How long before you can use this technique again? (Cooldown values= LT: 1, MT: 3, HT: 5, AoE: 7 turns)
Duration: Durations are only applicable for stat morphs or hybrids. (Maximum durations for techniques= LT: 2, MT: 3, HT: 4, AoE: 4 turns). The cooldown MUST be increased by as many posts as the duration lasts.
Buffs: List any stat buffs that this technique applies in percentage and specify whether these buffs are applied to your character or others. Only stat-altering techniques and hybrid techniques can have buffs or debuffs. (See combat guide for maximum buffs for each technique class and type.)
Debuffs: List any stat debuffs that this technique applies in percentage values and specify whether these debuffs are applied to your character or others. Only stat-altering techniques and hybrid techniques can have buffs or debuffs. (See combat guide for maximum buffs for each technique class and type.)
Technique Description: Provide flavour description for your technique. Your technique does not explicitly need to work the way you describe it here ICly. However, it must mechanically function the same way.
- Devil Fruit Equipment Techniques:
Name of the Devil Fruit: Which Devil Fruit is fed to your equipment?
Devil Fruit Description: Describe briefly the abilities provided by this particular devil fruit.
Name of the technique
Technique By: Name of the equipment that gives you this technique.
Technique Class: See the Shop of Dreams to know whether your technique should be an LT, MT or HT.
Technique Type: Flat/DoT/Stat Morph/(Flat or DoT) Hybrid/Heal
Technique Range: The base maximum ranges of equipment techniques based on the tier acquired is as follows: T2: 200m, T3: 400m, T4: 600m, T5: 800m, T6: 1000m
Technique Cooldown: How long before you can use this technique again? (Cooldown values= LT: 1, MT: 3, HT: 5, AoE: 7 turns)
Duration: Durations are only applicable for stat morphs or hybrids. (Maximum durations for techniques= LT: 2, MT: 3, HT: 4, AoE: 4 turns). The cooldown MUST be increased by as many posts as the duration lasts.
Buffs: List any stat buffs that this technique applies in percentage and specify whether these buffs are applied to your character or others. Only stat-altering techniques and hybrid techniques can have buffs or debuffs. (See combat guide for maximum buffs for each technique class and type.)
Debuffs: List any stat debuffs that this technique applies in percentage values and specify whether these debuffs are applied to your character or others. Only stat-altering techniques and hybrid techniques can have buffs or debuffs. (See combat guide for maximum buffs for each technique class and type.)
Technique Description: Provide flavour description for your technique. Your technique does not explicitly need to work the way you describe it here ICly. However, it must mechanically function the same way.
 Emi Roromiya
[tracker=/t1015-emi-roromiya#4973]
Name : Emi Roromiya
Epithet : Smiling Slayer
Age : 17
Height : 5'5"
Weight : 130 lbs
Species : Human
Faction : Pirate
World Position : N/A
Crew : Meddling Kids
Ship : The Scorned Lady
Crew Role : Navigator/ First Mate
Devil Fruit : N/A
Bounty : [ber=r] 31,600,000
Balance : [ber] 22,050,000
Posts : 117
 Re: Belle's Equipment
 Tue Nov 05, 2019 7:59 pm
Approved!!
Belle wrote:Belle's Equipment
Character Name: Belle
Number of Equipment Pieces: 2
Highest tiered equipment: T1
Total Equipment Stat Points: 10
Equipment Name: Alpha
Equipment Type: Bow
Equipment Tier: Tier 1
Equipment Stats: +5 Attack
Equipment Description: As a Bow it's used with arrows to attack from a distance.
Equipment Name: Fox Mask
Equipment Type: Face Mask
Equipment Tier: 1T
Equipment Stats: +5 Defense
Equipment Description:
- Spoiler:
The mask is made to hide one's face and protect against attacks that could otherwise harm the face. It's beautifully crafted and was made just for Belle. She can see out of it due to a clear material over the eyes part.
Techniques
- Equipment Techniques:
Name of the technique
Technique By: Name of the equipment that gives you this technique.
Technique Class: See the Shop of Dreams to know whether your technique should be an LT, MT or HT.
Technique Type: Flat/DoT/Stat Morph/(Flat or DoT) Hybrid/Heal
Technique Range: The base maximum ranges of equipment techniques based on the tier acquired is as follows: T2: 200m, T3: 400m, T4: 600m, T5: 800m, T6: 1000m
Technique Cooldown: How long before you can use this technique again? (Cooldown values= LT: 1, MT: 3, HT: 5, AoE: 7 turns)
Duration: Durations are only applicable for stat morphs or hybrids. (Maximum durations for techniques= LT: 2, MT: 3, HT: 4, AoE: 4 turns). The cooldown MUST be increased by as many posts as the duration lasts.
Buffs: List any stat buffs that this technique applies in percentage and specify whether these buffs are applied to your character or others. Only stat-altering techniques and hybrid techniques can have buffs or debuffs. (See combat guide for maximum buffs for each technique class and type.)
Debuffs: List any stat debuffs that this technique applies in percentage values and specify whether these debuffs are applied to your character or others. Only stat-altering techniques and hybrid techniques can have buffs or debuffs. (See combat guide for maximum buffs for each technique class and type.)
Technique Description: Provide flavour description for your technique. Your technique does not explicitly need to work the way you describe it here ICly. However, it must mechanically function the same way.
- Devil Fruit Equipment Techniques:
Name of the Devil Fruit: Which Devil Fruit is fed to your equipment?
Devil Fruit Description: Describe briefly the abilities provided by this particular devil fruit.
Name of the technique
Technique By: Name of the equipment that gives you this technique.
Technique Class: See the Shop of Dreams to know whether your technique should be an LT, MT or HT.
Technique Type: Flat/DoT/Stat Morph/(Flat or DoT) Hybrid/Heal
Technique Range: The base maximum ranges of equipment techniques based on the tier acquired is as follows: T2: 200m, T3: 400m, T4: 600m, T5: 800m, T6: 1000m
Technique Cooldown: How long before you can use this technique again? (Cooldown values= LT: 1, MT: 3, HT: 5, AoE: 7 turns)
Duration: Durations are only applicable for stat morphs or hybrids. (Maximum durations for techniques= LT: 2, MT: 3, HT: 4, AoE: 4 turns). The cooldown MUST be increased by as many posts as the duration lasts.
Buffs: List any stat buffs that this technique applies in percentage and specify whether these buffs are applied to your character or others. Only stat-altering techniques and hybrid techniques can have buffs or debuffs. (See combat guide for maximum buffs for each technique class and type.)
Debuffs: List any stat debuffs that this technique applies in percentage values and specify whether these debuffs are applied to your character or others. Only stat-altering techniques and hybrid techniques can have buffs or debuffs. (See combat guide for maximum buffs for each technique class and type.)
Technique Description: Provide flavour description for your technique. Your technique does not explicitly need to work the way you describe it here ICly. However, it must mechanically function the same way.
Permissions in this forum:
You cannot reply to topics in this forum


